NetDuke32 - EDuke32-OldMP Setup
Once you have downloaded Netplayseeker from the main website and run it the first time it should start to generate a new configuration file to save the settings inside the netseek.cfg.
Extract the zip file into a new folder of your choice.

Run Netplayseeker and the netseek.cfg file should appear and Netplayseeker should now look like this, while you can also adjust the size of the window to suit your needs.
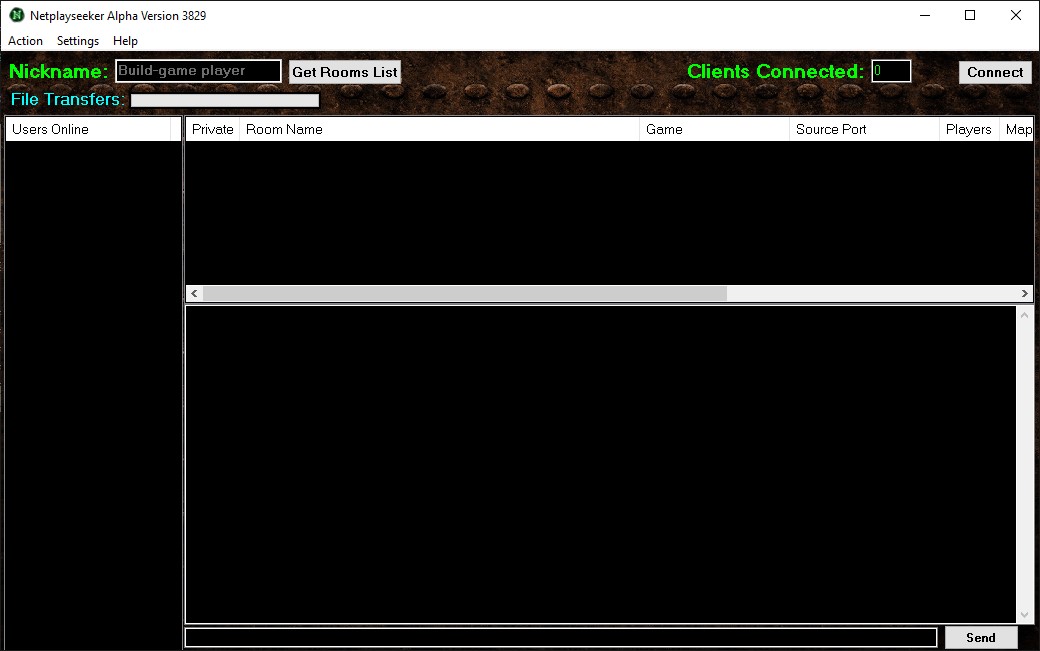
First thing you should do is change your Nickname the player you want to be known as on chat and inside the game.
Click on the Settings menu and choose the Multiplayer and Networking option.

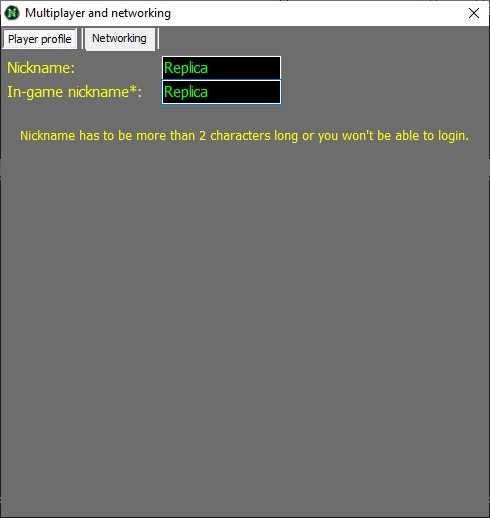
Now on the Player Profile Tab you click on that and you should see the following defaulted names.

Change the Nickname to something you like which is the name displayed for Netplayseeker and then change the In-Game nickname which is the name displayed inside any game you launch.
Now you can close the window to save the progress or click on Networking for more advanced options for the Networking.
To host a room you need to make sure you have the default TCP 8501 port forwarded, and usually if your router has UPnP this will be done for you automatically.
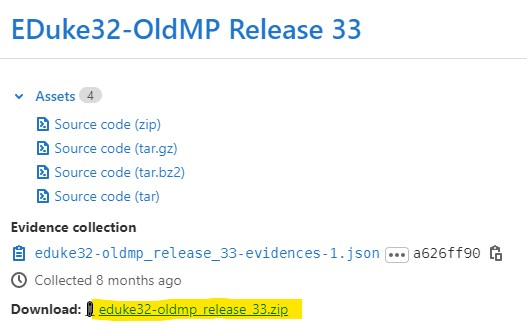
Make sure you have downloaded EDuke32-OldMP 33 or NetDuke32 from the website.
Extract all the files into a new folder of your choice and it should look like something like below.
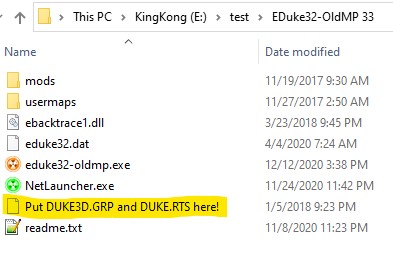
Now you are not quite yet done as for this Source Port to run you need the following two files from the original game in order to play which are "duke3d.grp" and "duke.rts".
If you don't have them you can get them by buying Duke Nukem 3D Atomic Edition here: https://www.zoom-platform.com/product/duke-nukem-3d-atomic-edition
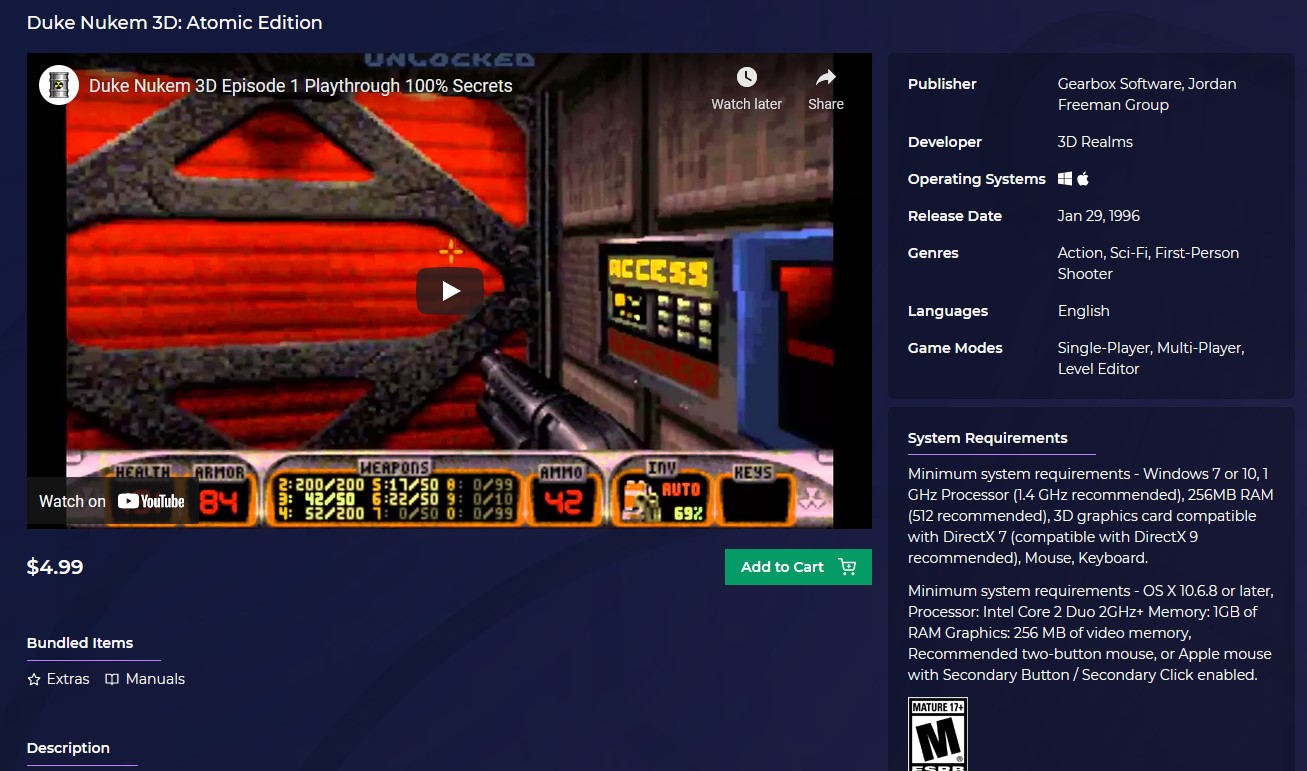
Then once you have purchased the game by adding it to the cart and checking out.
You should be able to find the game in the Library under your account name like below.
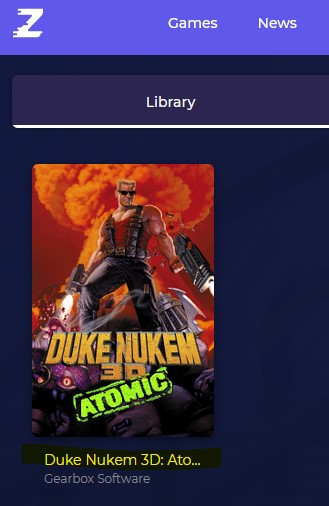
Once you click on the game you get to download the game it should look like the following below.
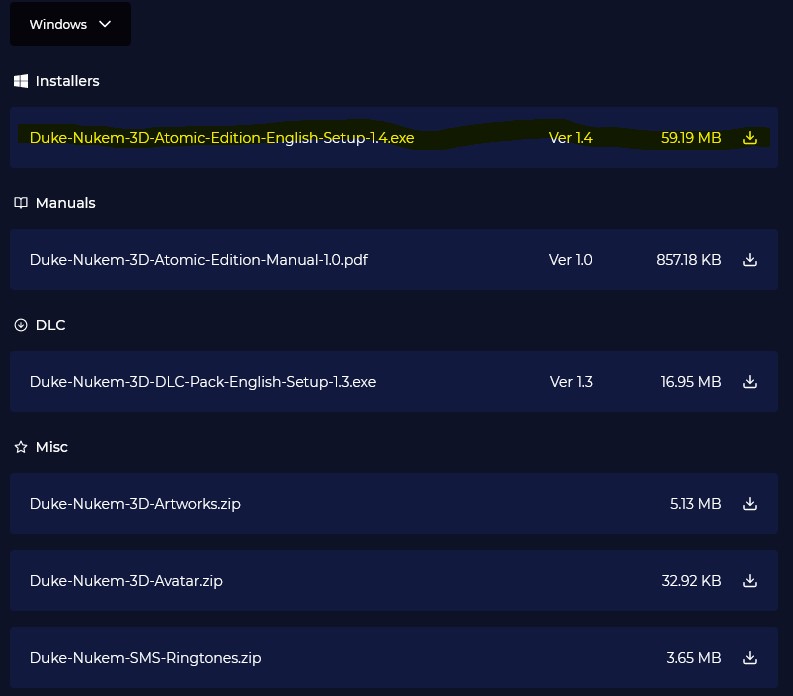
Download "Duke-Nukem-3D-Atomic-Edition-English-Setup-1.4.exe" to a new folder and run it to install it. (See below highlighted in yellow)
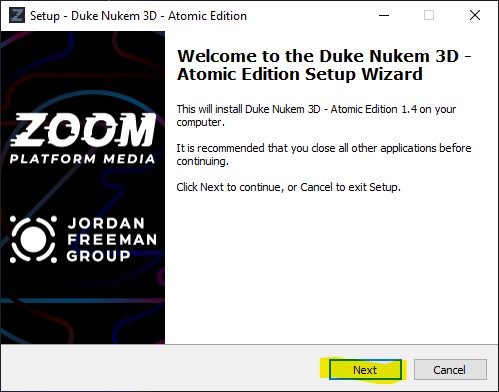
Select your language and click on "Next".
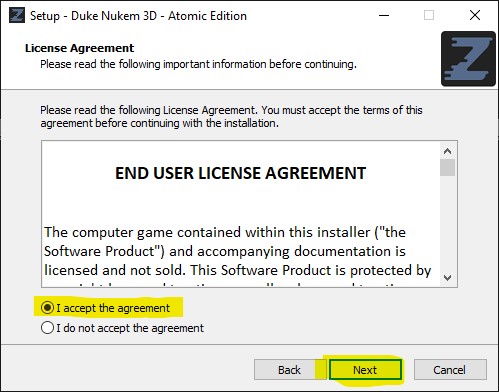
Then accept the agreement and click on "Next".
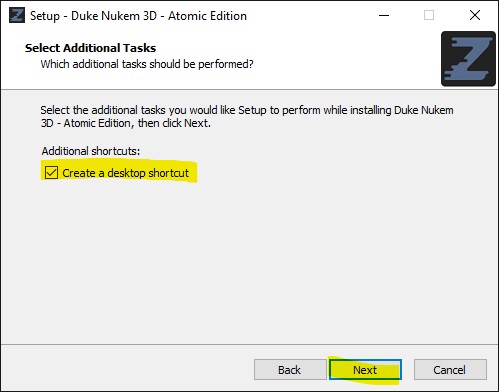
If you want to create a shortcut you can but you don't have to unless you want to play the DOS version and click "Next".
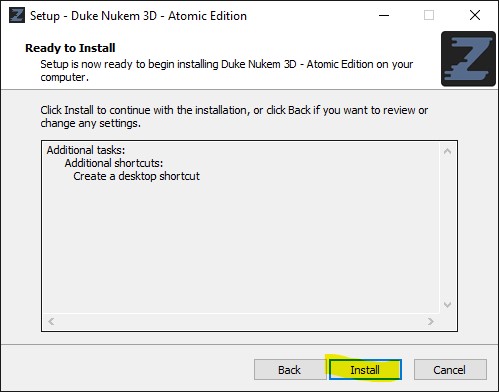
Click on "Install".
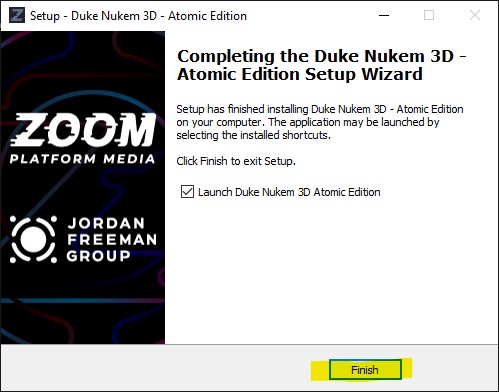
Then uncheck "Launch Duke Nukem 3D Atomic Edtion" unless you want to launch it and click on "Finish".
If you were not prompted to install it at a location and don't know were the files were installed to then if you checked the box that said "Create a Desktop Icon" look and browse for the location of the files you just installed.

Right click on the icon and choose the properties to find the Target Location.
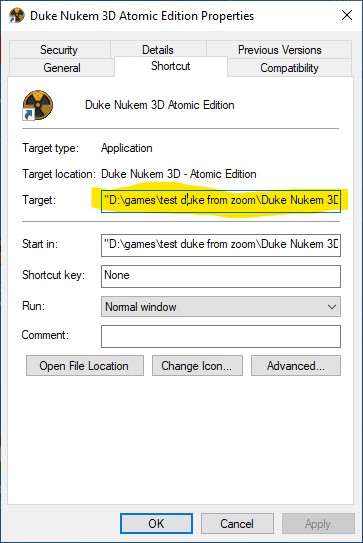
In my case the DOS Duke Nukem 3D Atomic v1.5 was installed to "D:\games\test duke from zoom\Duke Nukem 3D - Atomic Edition\".
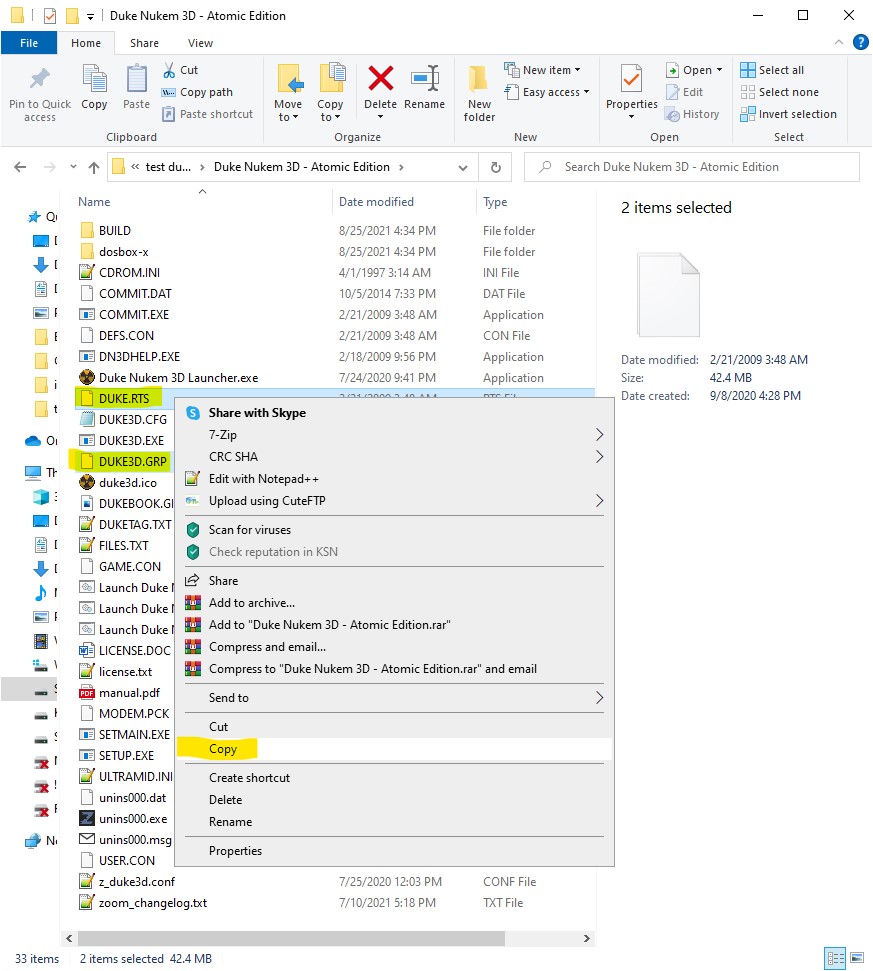
Hold down your "CTRL" key and left click selecting the "DUKE3D.GRP" and "DUKE.RTS" files like the above picture and press "CTRL+C" to copy them or right mouse click to select the "Copy" option on the menu.
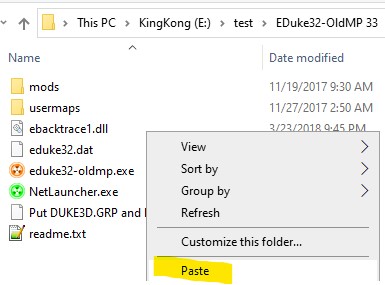
Then navigate to your EDuke32-Oldmp 33/NetDuke32 folder and right click or press "CTRL+V" to "Paste" the missing files into the correct path.
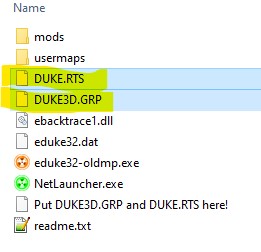
Now your EDuke32-OldMP 33/NetDuke32 folder should have the following files.
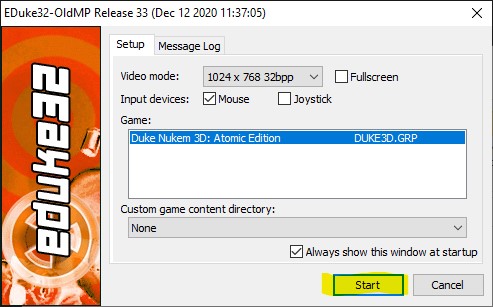
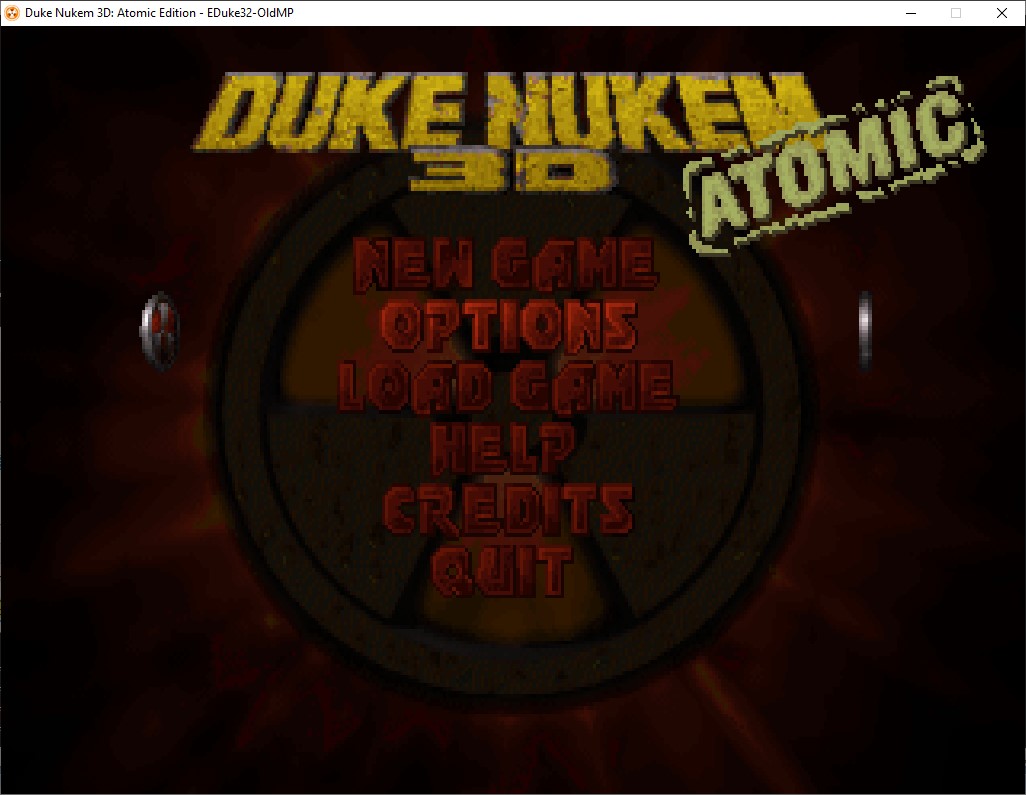
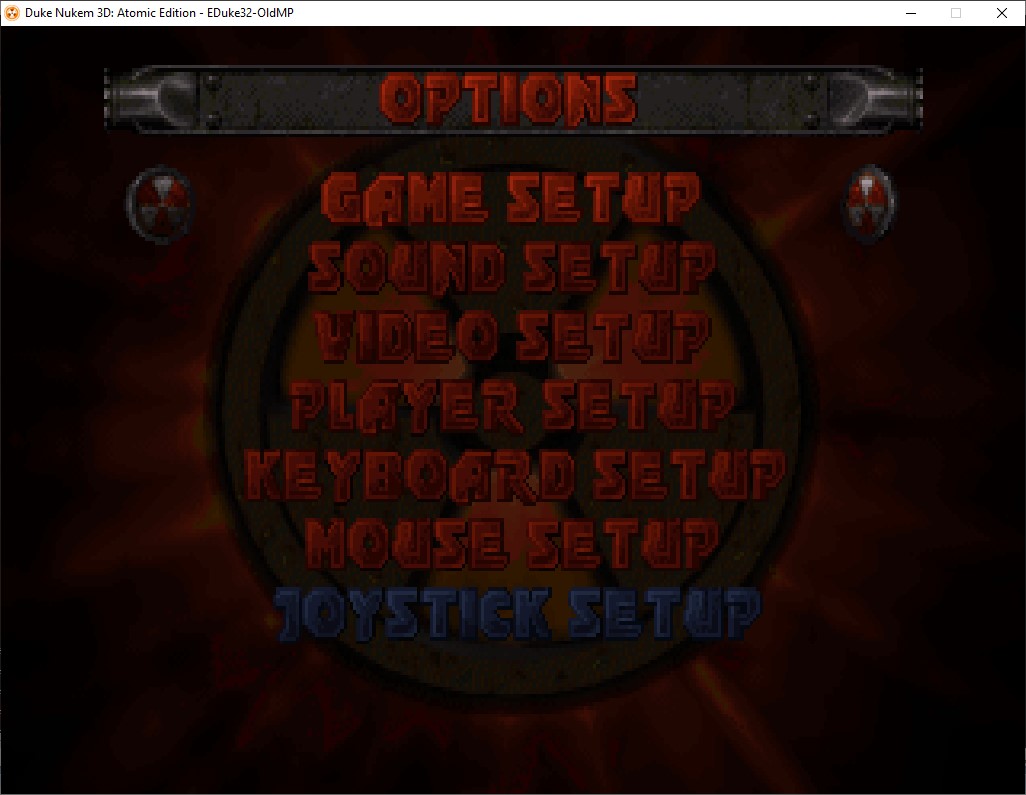
Click on the "eduke32-oldmp32.exe/netduke32.exe" to launch the game to set up the graphics and keyboard/sound settings then exit the game.
Now once your Duke Nukem 3D Atomic game has successfully been set up and is running good, now is the time to select the correct location for it on Netplayseeker.

Click on the "Settings" menu and select the "Source Ports" option.
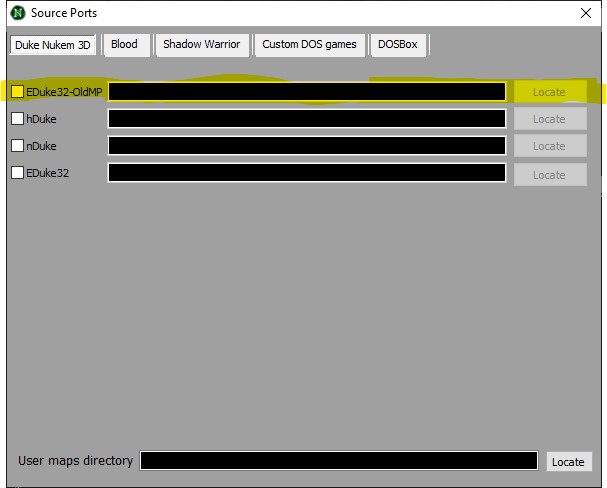
Check the checkbox to enable the EDuke32-OldMP/NetDuke32 path and "locate" the correct location.
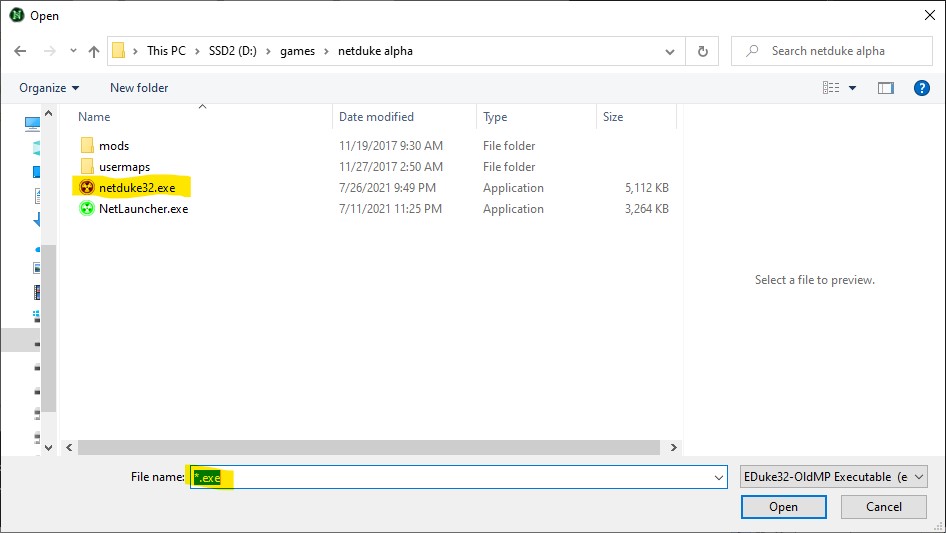
If you are using the "netduke32.exe" this should be selectable in the future for now you just locate it by typing in the File Name box "*.exe".
NetDuke32 Selection below if needed.
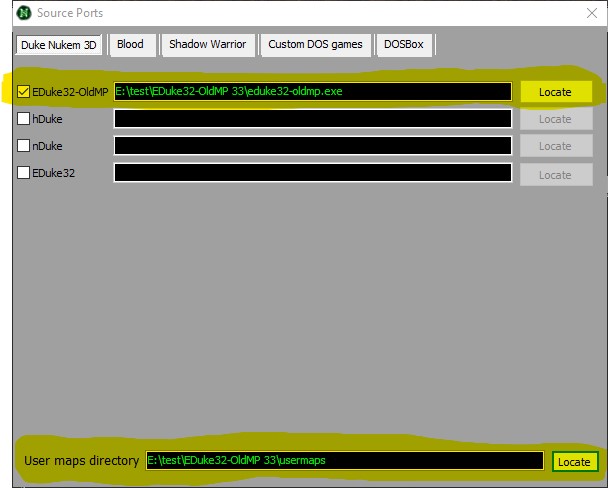
Also you must set up a location for User Maps which there should I have used the Subfolder "usermaps" in the main Source Port path.
This allows Netplayseeker to use this folder to download any User Maps to it and load them in multiplayer games.
You should now be able to close the window to save the settings and click on the "Connect" button to join the Players Lobby.
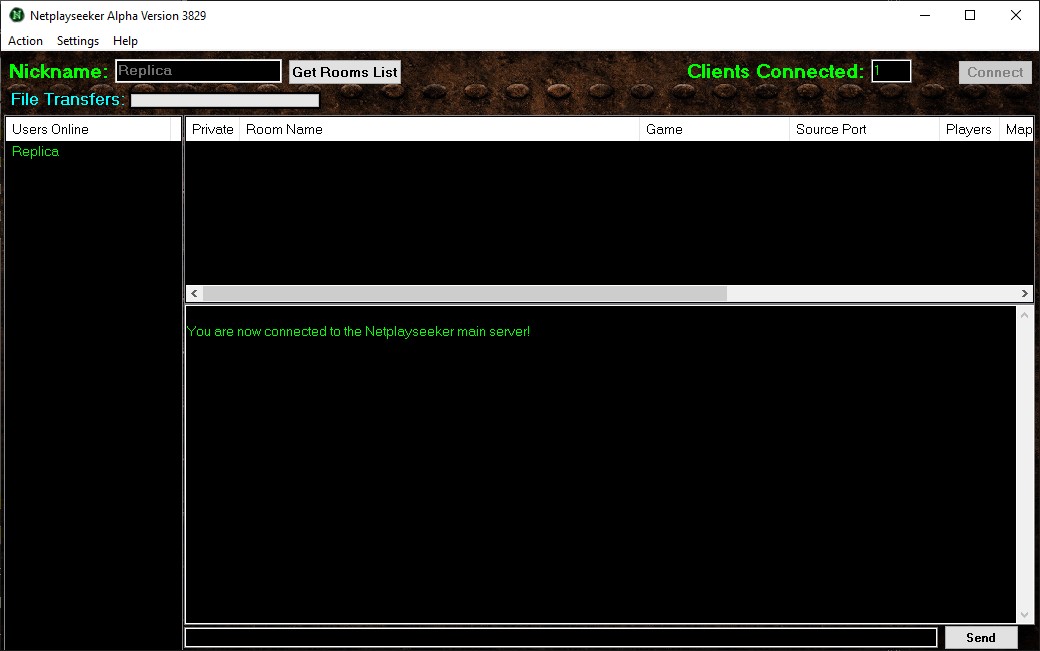
If you connected you should get a message saying "You are now connected to the Netplayseeker main server!".
On the left hand side under the "Users Online" list is the list of players connected and you can chat to them in the main chat lobby.
Now you have finished setting up the EDuke32-OldMP/NetDuke32 Source Port.
Once a player is hosting and advertised their room it should appear on the list under "Room Name" and you just double left-click to join them.
If their port is not forwarded you won't be able to join them and can let them know in the chat or you can create a new room for players to join you in.
Main website: https://netplayseeker.com
Email: support@netplayseeker.com